
Getting Started with REPSLog
Getting started with REPSLog takes just two easy steps. Once you’ve signed up and added your properties, you’ll be all set to start tracking your time.
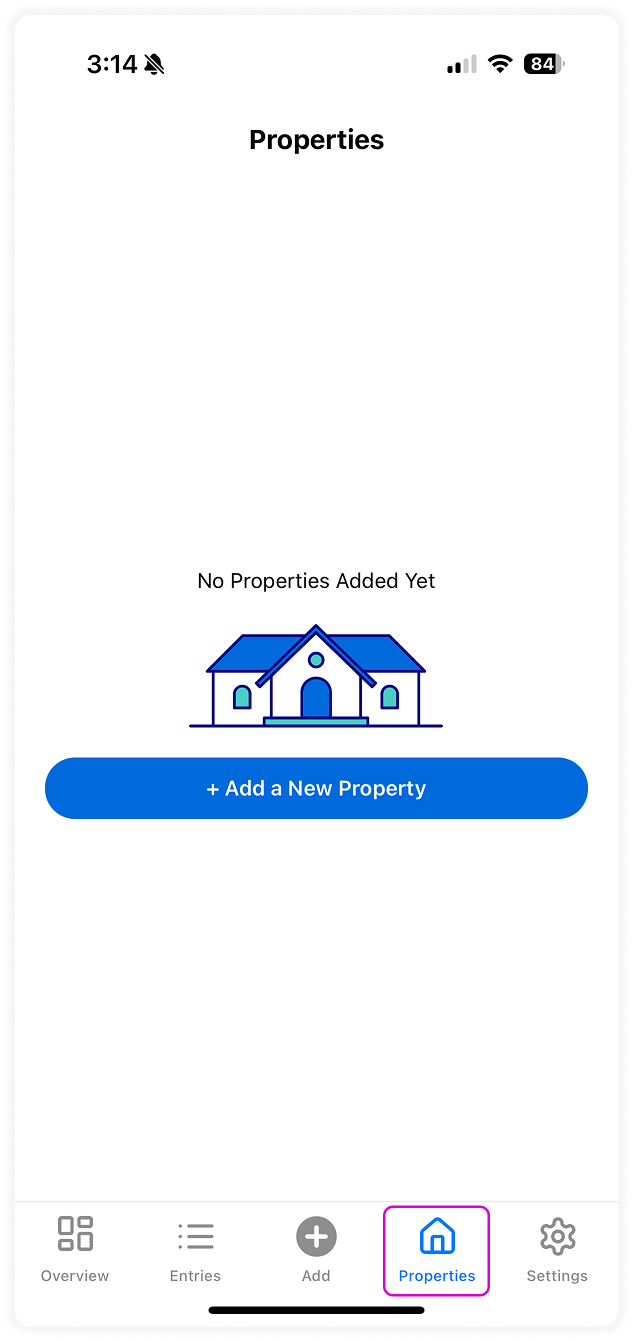
1. Add Your Properties
Navigate to the Properties section from the bottom navigation bar.
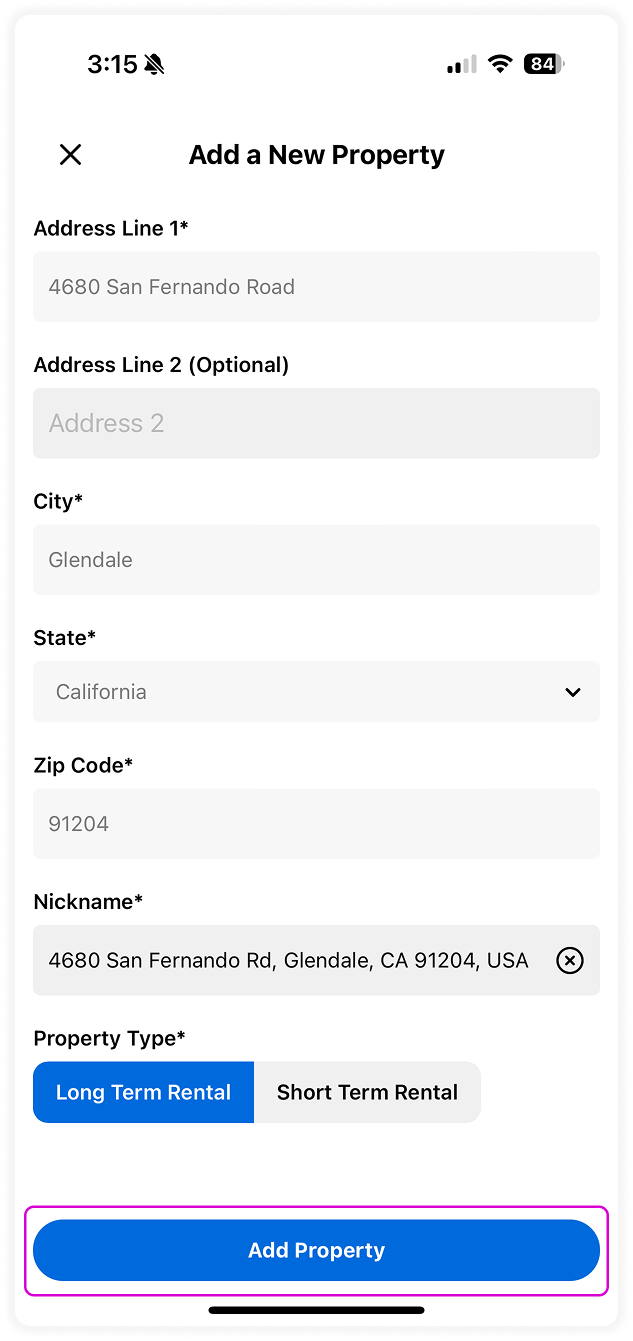
- Tap Add a New Property.
Search for your property’s address.
Add a nickname to help you recognize the property easily.
Select whether it’s a Long-Term Rental (LTR) or a Short-Term Rental (STR).
- Tap Add.
Repeat as needed.
💡 You can always go back and edit your property details later if anything changes.
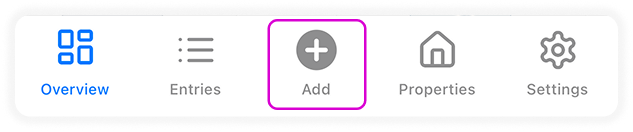
2. Add Your First Entry
- Tap the + Add button.
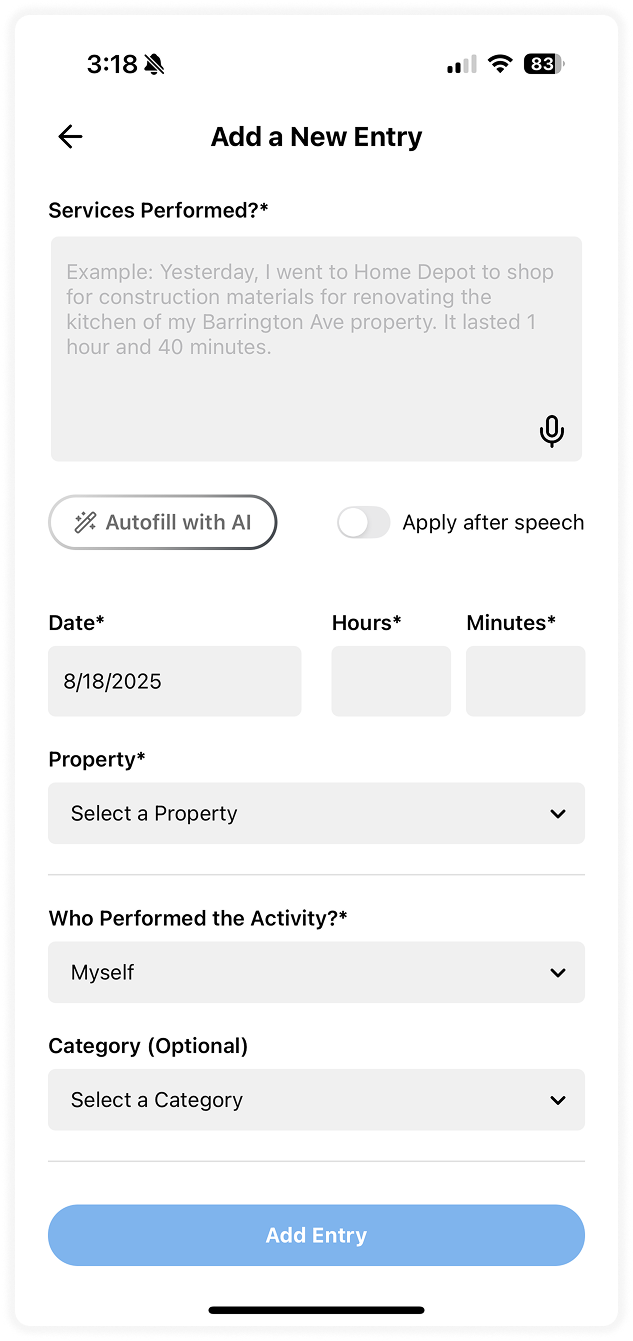
Fill in all the details for your activity or task.
-
Select the property this task is related to.
If the entry isn’t tied to a property, select Unassigned.
Attach any documents, receipts, or images as needed.
- Tap Add Entry.
Once saved:
Your entry will appear in the Entries screen.
Your total hour count will be updated in the Overview screen.
💡 You can always go back and edit or adjust your entries at any time.
👉 That’s it — you’re ready to begin logging your hours and managing your real estate activities with REPSLog!